Choose Resistance Bands for Apartment Workouts
Table of Contents
- What You’ll Need Before Choosing Resistance Bands
- Understanding Resistance Band Types and Uses
- How to Choose Resistance Band Resistance Levels
- Best Resistance Bands for Beginners
- Apartment-Specific Selection Criteria
- Material Quality, Durability, and Safety Checks
- Step-by-Step Selection Guide for Apartment Workouts
- Common Mistakes to Avoid
- Frequently Asked Questions
Last Updated: October 11, 2026
What You’ll Need Before Choosing Resistance Bands
Before buying resistance bands apartment workouts, assess your space, anchoring options, and fitness goals, most people skip this and end up with unsuitable bands.
Measure your floor space, test door anchoring options, and consider noise impact on neighbours, these constraints matter more than brand names.
The bands you choose should match your space, not the other way around.
Write down your answers to these questions:
- How many square metres of clear floor space do you have?
- Can you use a door anchor safely without damaging the frame?
- What’s your current fitness level: complete beginner, some experience, or already training?
- Do you have any joint issues or injuries to work around?
Understanding Resistance Band Types and Uses
Resistance bands come in distinct types, each suited to different exercises and spaces. Knowing the difference prevents you from buying the wrong tool for your goals.
Tube Bands with Handles
Tube bands with handles are versatile for full-body workouts, ideal for upper body exercises like chest presses, rows, and shoulder work.
The handles distribute tension evenly and reduce fatigue, making them ideal for beginners.
The trade-off is space: they need more room to extend fully and are bulkier to store.
Loop Bands vs Tube Bands for Home Workouts
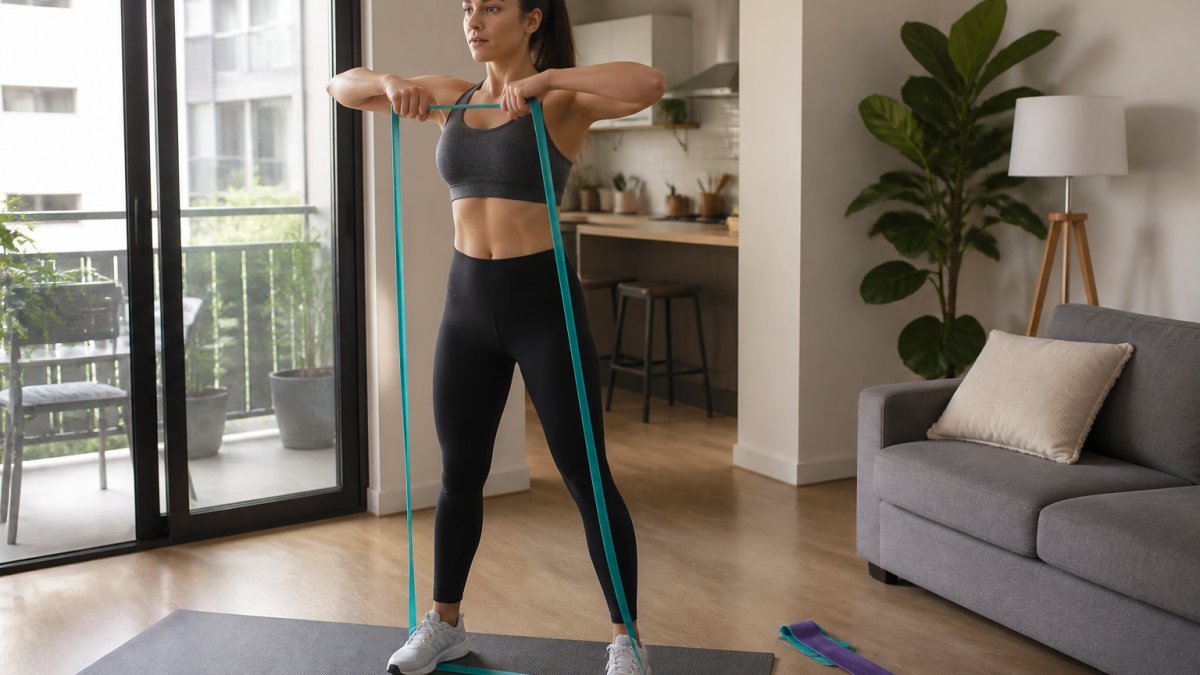
Loop bands are continuous circles with no handles, simpler, more compact, and cheaper, making them ideal for apartment storage.
Loop bands excel at lower body work and rehabilitation, though upper body exercises require stronger grip.
Tube bands suit upper body work; loop bands suit lower body. Most people benefit from owning both.
Mini Bands and Flat Therapy Bands
Mini bands target smaller muscle groups and are perfect for apartments, they require almost no space and produce minimal noise.
Flat therapy bands are ideal for rehabilitation, mobility work, and stretching, your first choice if recovering from injury.
How to Choose Resistance Band Resistance Levels
Resistance bands come in different tension levels, usually marked by colour. Light bands offer less resistance; heavy bands require more force. Choosing the right level prevents frustration and injury.
Light, Medium, and Heavy Resistance Options
Light bands suit beginners and rehabilitation, they’re easy on joints and let you focus on form.
Medium bands work for most general fitness and are the primary tool for home workouts.
Heavy bands suit advanced trainees and lower body work once you’ve built a base with lighter bands.
Buy light, medium, and heavy bands to progress over time, purchasing a set costs less than replacing bands later.
Best Resistance Bands for Beginners
Start with light and medium bands to progress without overwhelming yourself; avoid heavy bands initially.
Choose natural latex or fabric-blend bands, they grip better and last longer than cheap synthetic rubber.
Beginners benefit most from tube bands with handles, which reduce the learning curve for proper form.
Apartment-Specific Selection Criteria
Noise and Impact Considerations
Band workouts are quieter than free weights, but impact and band snap matter in shared housing.
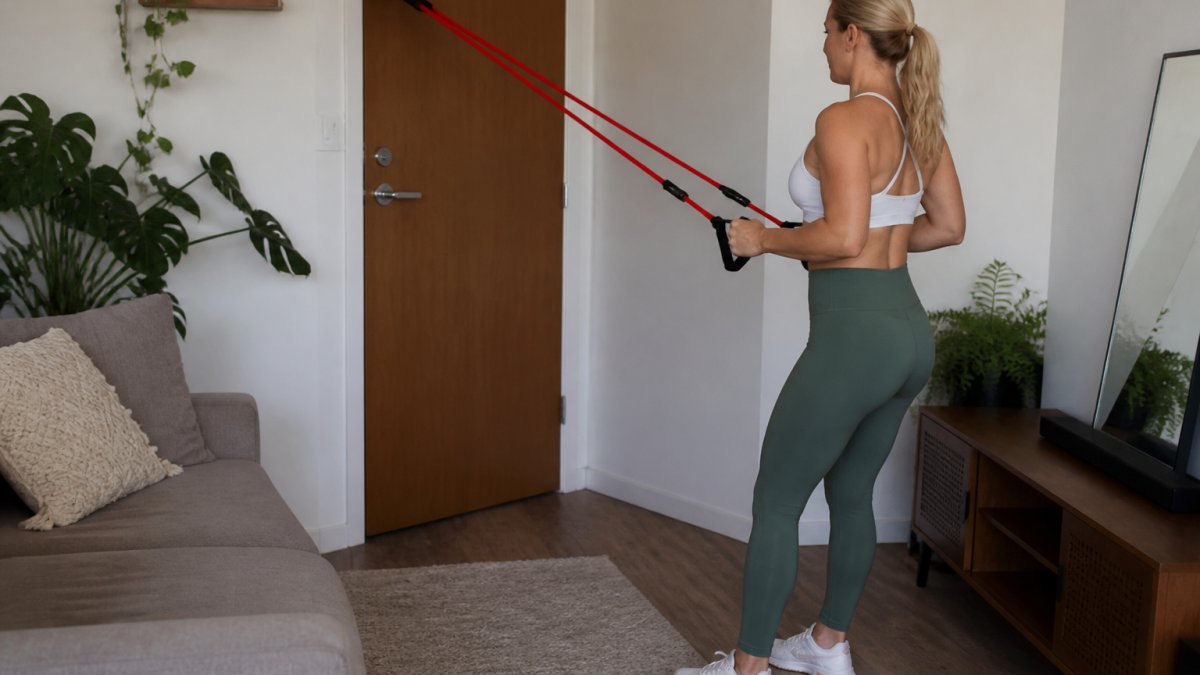
Avoid exercises with impact or landing; controlled movements like glute bridges, chest presses, rows, and lateral walks are silent.
Avoid band snap by using smooth, controlled releases and stopping 5-10 centimetres short of full extension.
Door Anchoring: Compatibility and Safety
Door anchors are rental-friendly but only work on specific door types, test your frame first.
Your door must swing inward; outward-swinging doors cannot safely hold an anchor.
Solid wood frames work best; hollow-core doors cannot safely hold heavy tension. Test by pulling firmly under light tension before your first workout.
Position anchors at the top of the frame for overhead exercises, at shoulder height for horizontal work. Never anchor to handles, hinges, or the door itself.
If your door is unsuitable, use loop bands for free-standing exercises or anchor to sturdy furniture like a sofa or bed frame.
Never anchor to window frames, curtain rods, or light fixtures, a failed anchor can damage your apartment and cause injury.
Space Requirements and Layout
Most exercises need surprisingly little space, a 2-square-metre area is enough for squats, lunges, chest presses, and rows.
Tube bands need more clearance than loop bands; overhead presses require 1.5 metres vertical and 1 metre horizontal space.
If you’re over 180cm tall or your ceiling is under 2.4m, focus on horizontal pressing and lower body work instead of overhead exercises.
Clear obstacles and breakables from your workout area. For very tight spaces (under 1.5 sq m), prioritise loop and mini bands over tube bands.
Storage and Space Efficiency
Plan where you’ll store your bands when not in use.
Most people fit a complete band collection into a shoebox or small storage bag.
Store bands away from sunlight, heat, and damp areas. Avoid gym bags in cars or near windows; UV exposure and heat degrade rubber.
Resistance Calibration for Small Spaces
Band resistance increases as you stretch it further. In small apartments, you have less room to stretch bands fully.
Standing closer to the anchor reduces stretch length, so the band never reaches its advertised resistance level.
For limited clearance, buy slightly heavier bands since you won’t stretch them fully.
Test each band in your actual workout space before committing to a full set.
Material Quality, Durability, and Safety Checks
Material Types and Apartment Suitability
Resistance bands are made from natural latex, synthetic rubber, or fabric blends. Each material has different durability, grip, and safety characteristics.
Natural latex bands offer superior elasticity and durability but are more expensive and may cause allergies.
Synthetic rubber bands are cheaper but degrade faster over 1-2 years; natural latex is worth the extra cost for consistent training.
Fabric-covered bands are ideal for apartments, they’re quieter, more comfortable, and last longer than bare rubber.
Wear Patterns and Inspection Protocol
Small cracks and discolouration are warning signs, replace the band within a week or two.
Thin spots indicate failure points, a band with visible thinning will snap under load.
Stickiness means the rubber is breaking down, a sticky band is near the end of its life.
Even pinhole-sized holes will grow into full tears under tension, do not use a band with any puncture.
Inspect bands before every workout for cracks, thin spots, or holes, a snapped band can whip back and strike your face.
Most quality bands last 1-3 years; replace bands over 3 years old if used frequently.
Storage and Environmental Factors
Store bands indoors away from windows. Avoid cars, garages, or sheds where temperature swings and UV exposure degrade rubber.
Keep bands away from heat sources; room temperature (18-22°C) is optimal.
Avoid damp areas; use a sealed container with silica gel if your apartment is humid.
Coil bands loosely for storage, avoid stretching or tight folding, which creates weak points.
Overstretching and Recoil Safety in Small Spaces
Overstretching is the leading cause of band failure, a snapped band can recoil and strike you or nearby objects.
Stop 5-10 centimetres short of full extension to provide a safety margin and extend band life.
In small apartments, stand closer to the anchor to reduce stretch length and increase resistance through body position.
Use the pause method to increase difficulty safely, slow down and pause at the hardest point rather than stretching maximally.
Always release band tension smoothly and deliberately. Stand to the side of the anchor so a recoiling band doesn’t strike your face.
Wear eye protection if you’re concerned about recoil risk, especially when using heavy bands or training alone. A pair of basic safety glasses costs little and provides peace of mind.
Thickness, Width, and Load Capacity
Thicker and wider bands handle more tension without tearing. When choosing bands for your apartment, consider thickness and width alongside resistance level.
Thin bands (2-3 millimetres) are suitable for light resistance and rehabilitation. They’re gentle on joints and good for beginners.
Medium-thickness bands (4-6 millimetres) are the standard for most home workouts. They balance durability, resistance range, and ease of use. Most people should start with medium-thickness bands.
Thick bands (7+ millimetres) handle heavy resistance and are suitable for advanced trainees or lower body work.
Wide bands (15+ centimetres) distribute force evenly across your body, reducing discomfort during exercises. They’re ideal for leg work and exercises where the band contacts your skin directly.
For resistance bands apartment use, choose medium-thickness, medium-width bands as your primary tool. They’re versatile, durable, and safe for most exercises. Add thin bands for rehabilitation or mobility work, and thicker bands as you progress.
Step-by-Step Selection Guide for Apartment Workouts
Step 1: Assess Your Space and Anchoring Options
Measure your available floor space in square metres. Test your door frame for anchor compatibility. Check ceiling height for overhead exercises. Identify any obstacles that limit movement.
Write down whether you can safely use a door anchor. If not, plan to use free-standing exercises or band loops that don’t require anchoring. This shapes your entire band selection.
Step 2: Select Band Types for Your Goals
Choose one primary band type based on your main exercise focus. If you want full-body training, start with tube bands. If you focus on lower body, choose loop bands. If you’re rehabilitating, pick flat therapy bands.
Add a secondary band type once you’re comfortable. Most people eventually own both tube and loop bands. Mini bands come last as a specialised addition.
Step 3: Buy a Progressive Resistance Range
Purchase at least two resistance levels: one light and one medium. This lets you progress over weeks and months. As you grow stronger, add a heavy band.
Buying a set is usually cheaper than buying individual bands.
Step 4: Inspect and Test Before Use
Open your bands and inspect them carefully. Check for tears, weak spots, or manufacturing defects. Test the anchor point with light tension before your first workout. Stretch the bands gently to feel their resistance level.
Read any care instructions included with the bands. Different materials require different storage and maintenance approaches.
Common Mistakes to Avoid
Buying too much resistance too soon is the biggest mistake. Heavy bands feel impressive, but they lead to poor form and injury.
Ignoring your apartment’s physical constraints is another common error. Buying bands that don’t fit your space creates frustration. Measure first, shop second.
Storing bands in direct sunlight or heat causes premature degradation. Many people leave bands in a gym bag in the car or near a window.
Using a low-quality door anchor on a weak door frame can damage your apartment and void your rental deposit. Test anchors under light tension first.
Skipping the inspection step before workouts is risky. A small tear becomes a full snap during exercise. Spend 30 seconds checking your bands before every session.
Resistance bands for apartment workouts require thoughtful selection, not impulse buying. Start by assessing your space and anchoring options, then choose band types that match your goals.
Frequently Asked Questions
Which type of resistance band is best for apartment workouts?
Loop bands and mini bands are ideal for apartments because they’re quiet, require minimal space, and don’t need handles or anchors. Tube bands with handles work well if you have a secure door anchor. Flat therapy bands suit mobility work in tight spaces. Choose based on your available anchoring options and the exercises you plan to do. Quieter bands reduce noise complaints from neighbours.
How do I choose the right resistance level for resistance bands?
Start with light resistance if you’re new to strength training. You should complete 12-15 repetitions with good form while feeling challenged on the last few reps. As you progress, move to medium resistance, then heavy. Buy a band set with multiple resistance levels so you can adjust based on the exercise and muscle group. Lighter bands suit upper body isolation; heavier bands work for lower body and compound movements.
Are loop bands or tube bands better for home workouts?
Loop bands are quieter, more durable, and take up less storage space, making them better for apartments. Tube bands with handles offer more exercise variety and are easier to grip for beginners. Many people use both: loop bands for lower body and compound movements, tube bands for upper body work. Consider your available anchoring options and storage space when deciding between them.
What should I check before using a resistance band?
Inspect the band for cracks, tears, discolouration, or thin spots that indicate wear. Test the stretch gently to ensure it feels consistent and doesn’t snap unexpectedly. Check that handles (if present) are secure and not cracked. Verify door anchors fit snugly in your doorframe without damaging it. Replace any band showing visible damage before use to prevent injury and ensure effective training.